Bathroom Sink Leak Repair — Orlando, FL
Completed: late August 2025 • Commercial men’s restroom
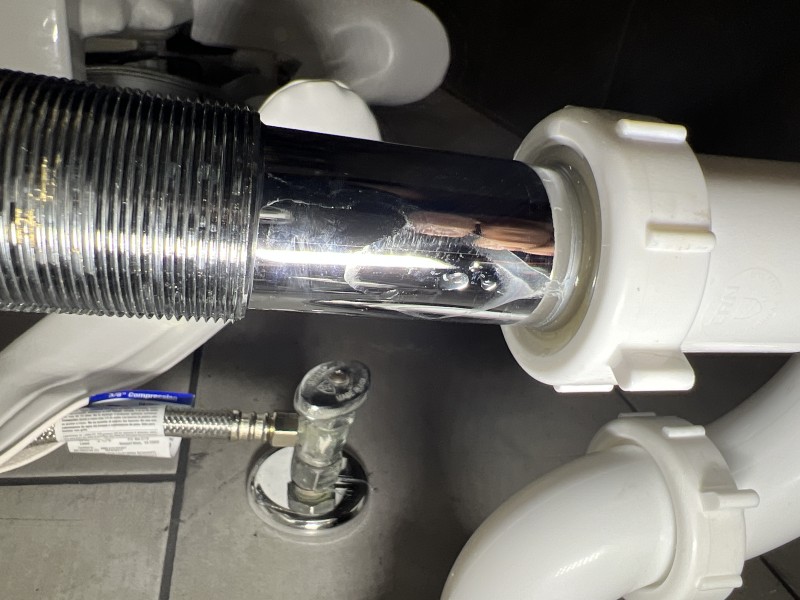
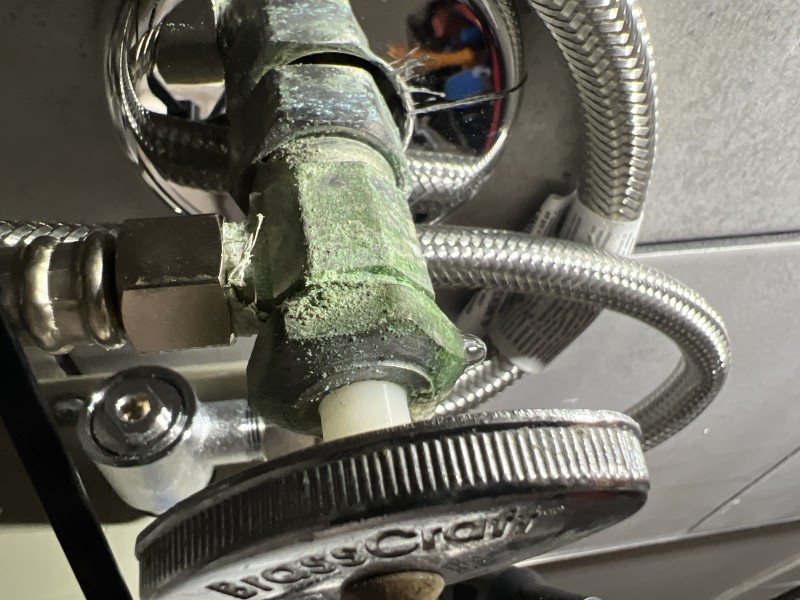
When I arrived for this bathroom sink leak repair in Orlando, my first priority was leak detection and preventing water damage. I inspected the vanity, shut-off valves, faucet supply lines, and the compression fittings beneath the sink. Pooling water inside the cabinet pointed to a failing connection on the cold-water line—common in high-usage commercial restrooms.
Using a flashlight, basin wrench, and adjustable wrench, I checked every joint, ferrule, and nut for corrosion or play. A worn compression sleeve was allowing seepage under pressure. I shut off the angle stops, relieved line pressure, and removed the compromised parts to prep for a durable, code-compliant fix.
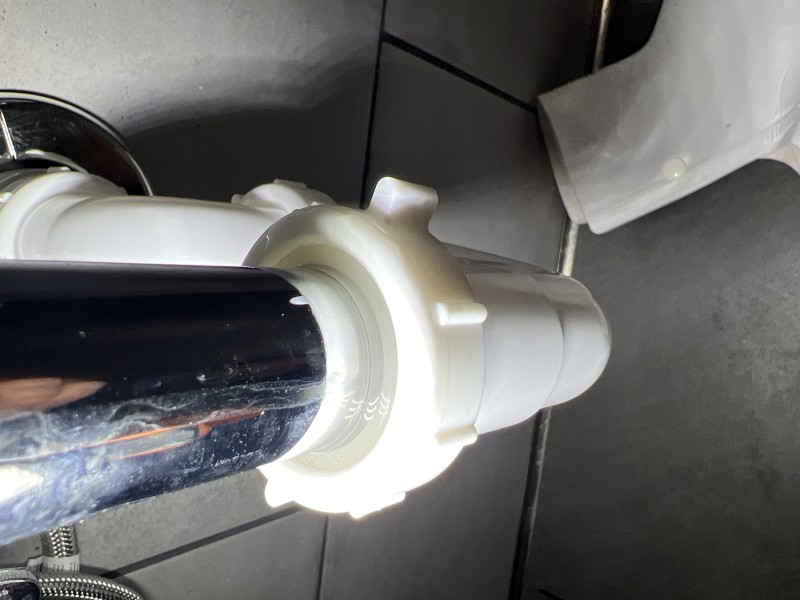
For the repair, I installed a new high-quality compression fitting and refreshed the threaded connections with PTFE (Teflon) tape where appropriate. I also inspected the P-trap and tailpiece for stress cracks, verified supply line integrity, and confirmed the shut-off valves operated smoothly. Proper torque and alignment are crucial to avoid overtightening and future leaks.
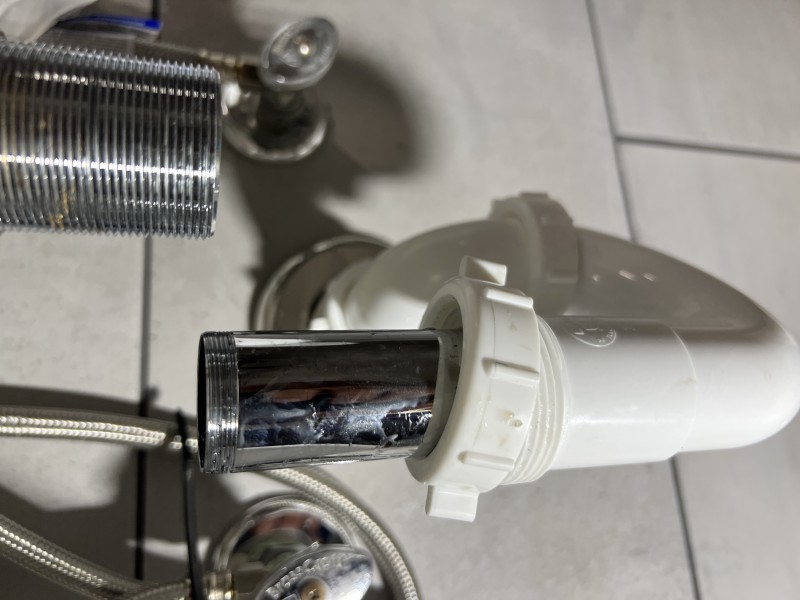
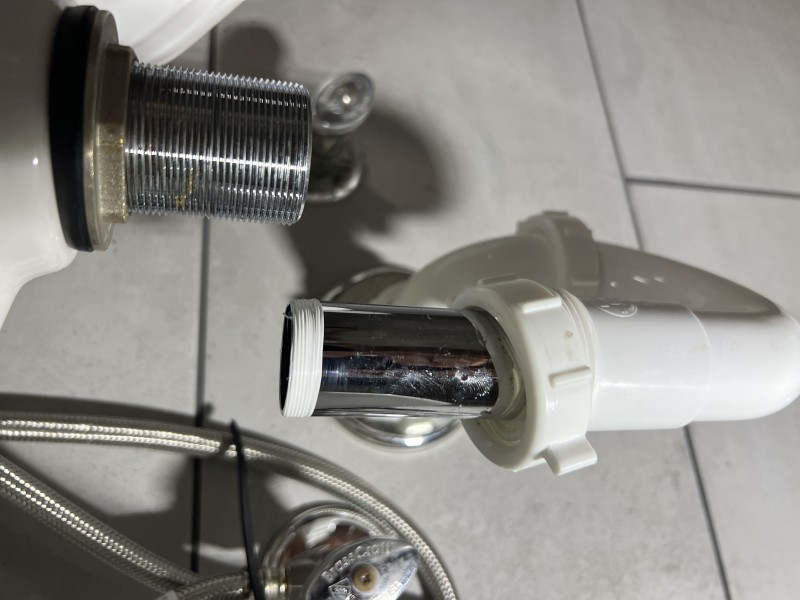
With the new hardware in place, I turned the water back on gradually, bled air from the faucet, and performed a full leak test—running the faucet, filling and draining the basin, and checking every connection. Final steps included wiping the cabinet dry, confirming there was no wicking along the cabinet floor, and advising on preventative maintenance.
Tracing the Leak Source
I started by checking the angle stops, braided supply lines, and compression nuts for seepage. A towel test and mirror inspection confirmed moisture tracking from the cold-water compression joint, indicating a deteriorated ferrule/washer.
Fault Identified: Worn Compression Fitting
Corrosion and wear on the compression sleeve and ferrule allowed water to migrate along the line. I isolated the supply, relieved pressure, and prepped the joint for removal to prevent ongoing water damage to the cabinet base.
Removal & Replacement
With valves off, I used a basin wrench to remove the compromised parts, installed a new compression fitting, and refreshed threads with PTFE tape where applicable. Even torque and proper alignment ensure a long-lasting, leak-free seal.
Pressure & Flow Testing
I restored water gradually, bled air through the faucet, and monitored each joint under operating pressure. A fill-and-drain cycle confirmed the P-trap, tailpiece, and slip joints were dry with no weeping or wicking.
Cleanup & Prevention
After confirming everything stayed dry, I wiped the cabinet, checked for swelling, and recommended preventative maintenance: exercise the shut-off valves periodically, visually inspect supply lines, and schedule prompt service if dampness reappears.