Cable Drain Through Toilet — Pull & Reset (St. Petersburg, FL · Oct 2025)
An emergency main sewer line blockage caused backups in multiple fixtures. I followed a structured diagnostic: attempt through the roof vent stack, proceed with a toilet pull to access the toilet flange, and finalize clearance via an exterior cleanout for full cable reach.
Using a high-torque drain cable machine with a cutting head, I verified the clog location and restored flow. The wax ring was replaced during the reset, and closet bolts/shims ensured a level, leak-free reinstall to code.
After clearing, I flushed and tested multiple fixtures to confirm there was no cross-gurgling or slow drainage. I reviewed preventive maintenance: periodic camera inspections, enzyme treatments, and avoiding non-flushables to protect the sewer lateral.
Below are job photos with step-by-step descriptions highlighting practical drain cleaning methods and plumbing troubleshooting used on this service call in Pinellas County.
Initial Diagnostics via Roof Vent
I started at the roof vent stack to probe the main drain without disturbing interior finishes. The sectional drain snake and cutting head helped gauge resistance and locate the obstruction, confirming it was deeper than a simple toilet trap issue.
Toilet Pull & Flange Verification
With the toilet removed, I ran a drain auger through the toilet flange to verify the clog was beyond interior piping. I prepped a fresh wax ring, checked the closet flange, and staged closet bolts and shims for a level, watertight reset once the main line was cleared.

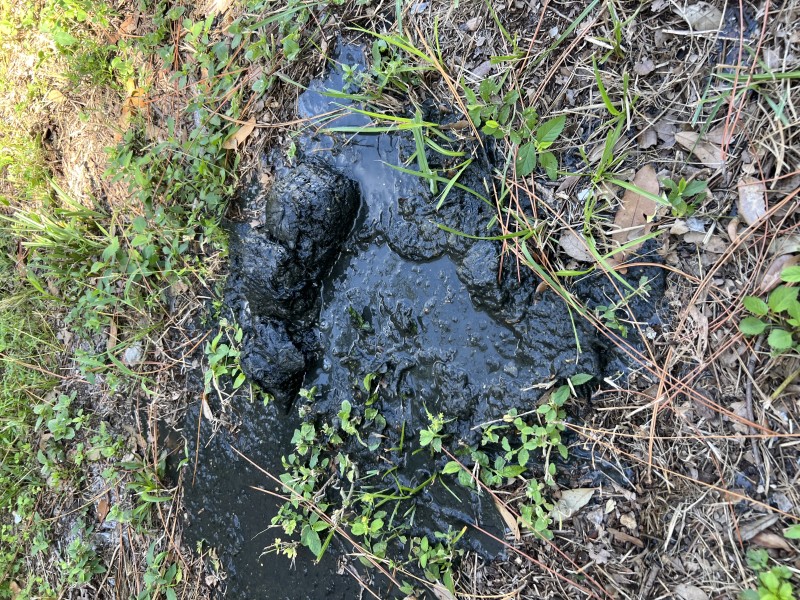
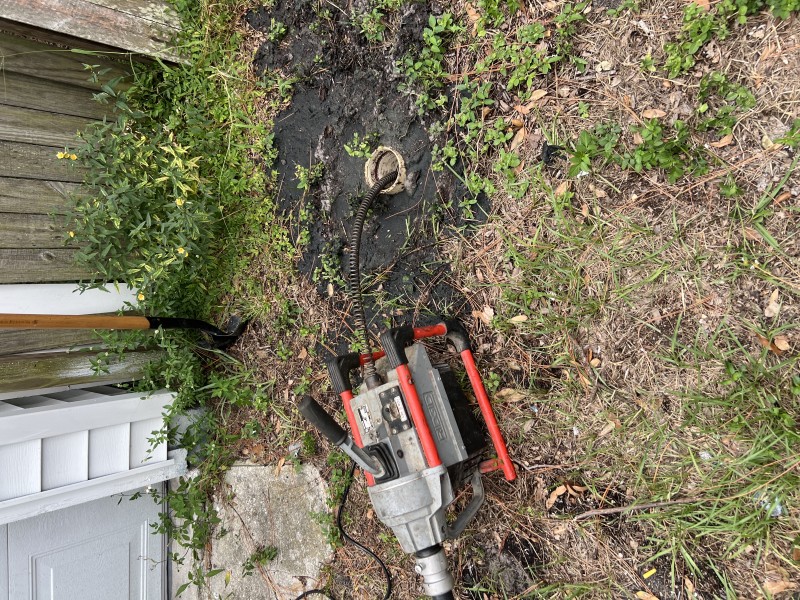
Cleanout Access & Full Line Clearance
After locating the exterior cleanout, I used a high-torque cable machine with a root-cutting head to break through the obstruction and restore flow. Multiple test flushes confirmed clear drainage, followed by a code-compliant toilet reset and final checks for leaks and level.