Ceiling Leak Repair and Pipe Replacement
This job took place in Land O' Lakes, Florida in March 2026 after water was actively leaking from a ceiling below a second-floor water heater. The leak had already begun affecting the living space below, so the goal was to quickly locate the source and prevent further water damage.
After opening the ceiling, I found a failing section of piping and a compromised connection. Because of limited working space, I approached the repair from the water heater side, removed the damaged section, and prepared the system for a more reliable reroute.
I installed new CPVC piping, added a new ball valve for better shutoff control, and used SharkBite fittings where necessary to complete secure connections in tight areas. The repair was designed to be both durable and accessible for any future maintenance.
By replacing the failing materials and improving the layout of the plumbing system, the leak was fully resolved and the risk of future issues in that section was significantly reduced.
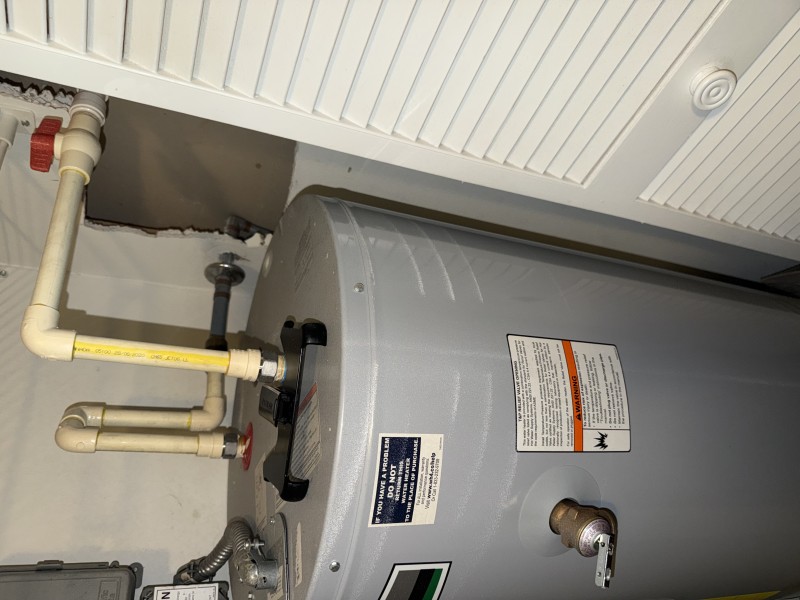
Water Heater Access Area
This shows the water heater where I accessed the supply lines. I started the repair here by preparing to reroute the piping and install a new shutoff valve for better control.
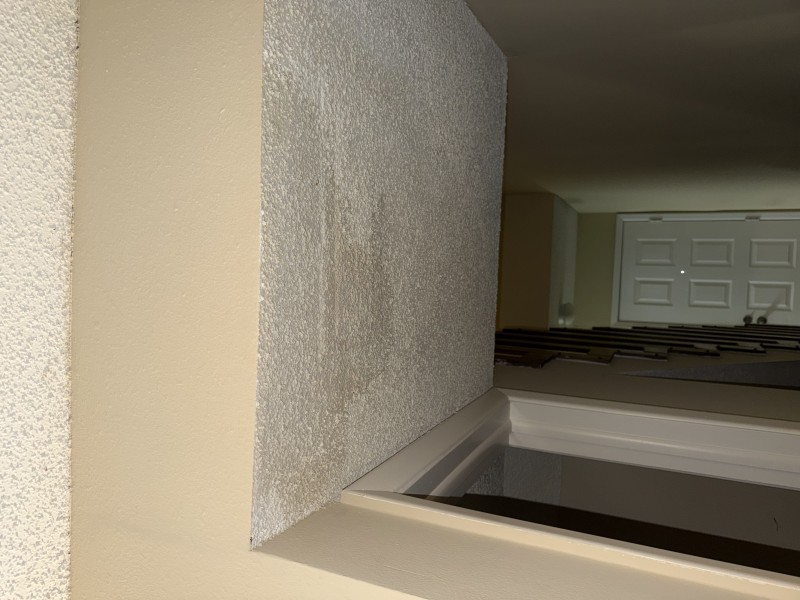
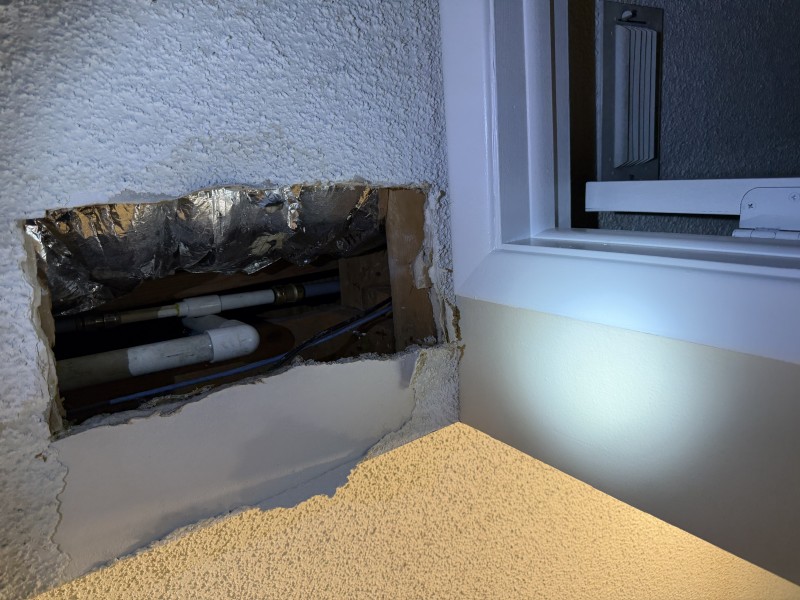
Ceiling Water Damage Area
Here you can see the ceiling where water was leaking through. This area had to be opened up to locate the source of the leak and assess the damage.
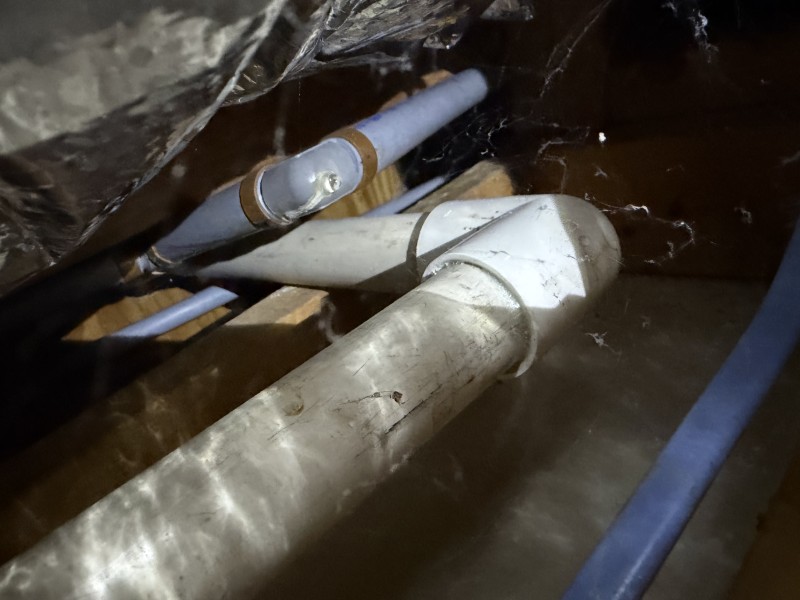
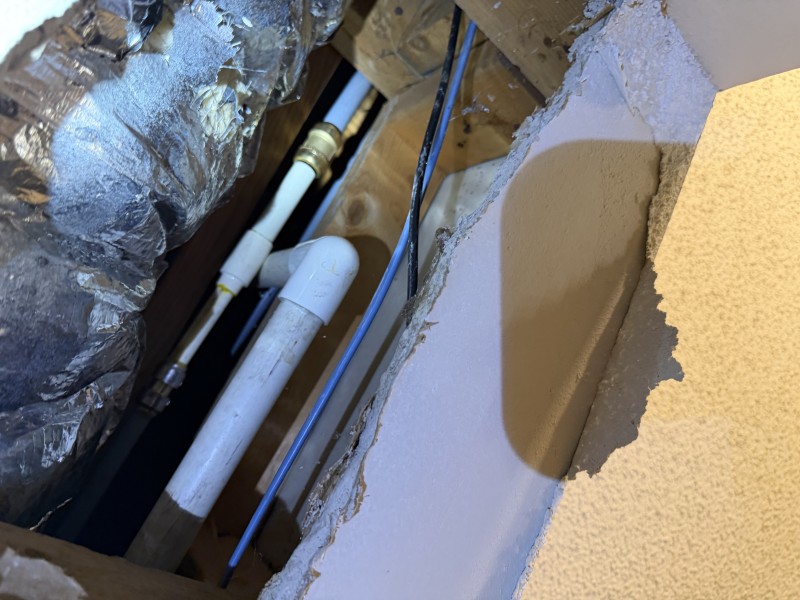
Leak Location Inside Ceiling
Once the ceiling was opened, I could see the piping layout and identify the exact section where the leak was coming from inside the cavity.
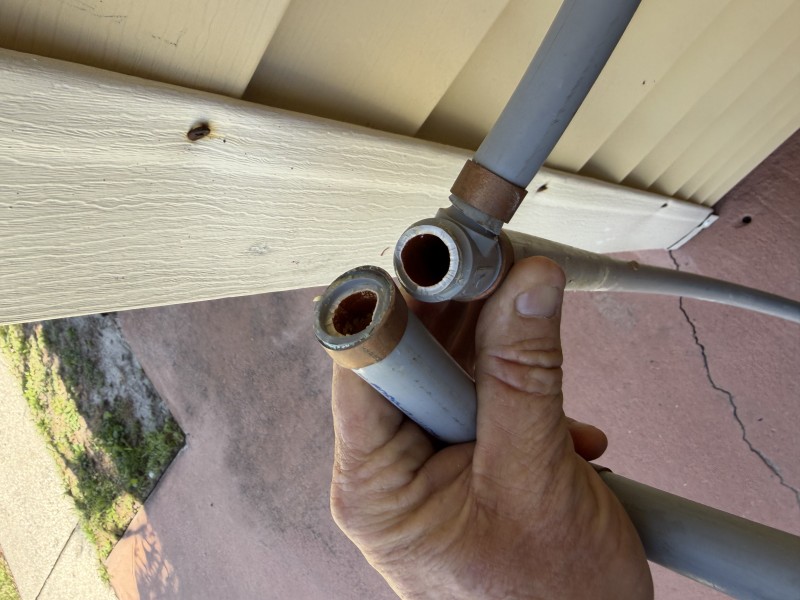
Removed Damaged Pipe
This is the section of old piping that I removed. The material had degraded and was the source of the leak, so it needed to be replaced completely.
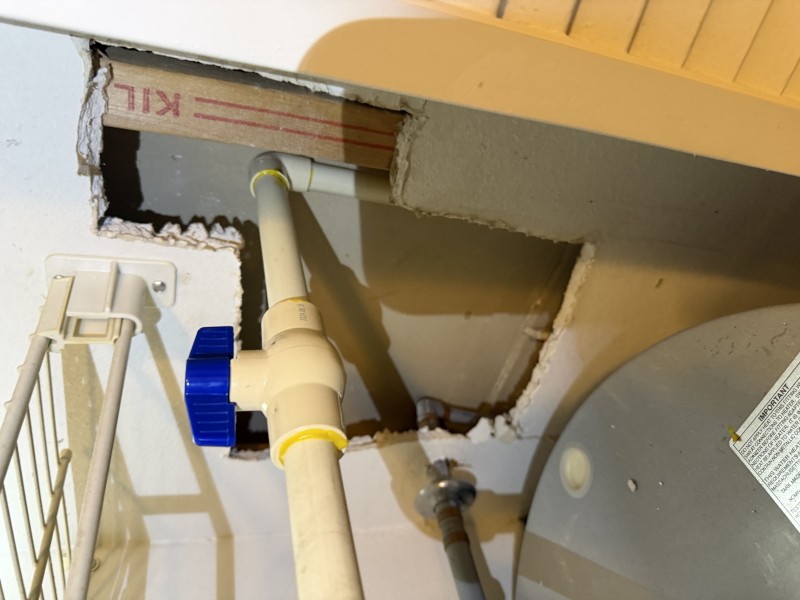
New Valve and Connection
Here I installed a new ball valve and began connecting the new piping. This upgrade improves both reliability and future service access.
New Pipe Installation
This shows the new CPVC piping installed in the ceiling space. I routed it to an accessible area so the repair could be completed properly and securely.
Completed Repair Area
This final image shows the repaired section inside the ceiling. The leak was resolved and the system was tested to ensure everything was sealed properly.