Economy Kitchen Faucet Replacement — Brandon, FL (Completed September 2, 2025)
This service call involved removing a worn, leaking economy kitchen faucet and installing a reliable replacement to restore full sink function. I began with a thorough diagnostic of the shutoff valves, supply lines, and escutcheon area to rule out hidden issues. Proper faucet installation hinges on sound prep, correct torque on mounting hardware, and verified watertight seals.
After isolating the water with the under-sink angle stops, I used a basin wrench to reach the corroded mounting nuts in the tight cabinet space. Once the old fixture was out, I cleaned the sink deck to bare metal/porcelain, removed mineral scale, and inspected the gasket channel. A clean, flat surface is essential for a durable seal between the faucet base and the sink to prevent capillary leaks.
The new faucet was test-fit through the sink’s mounting holes, then set with the provided rubber gasket and a light ring of plumber’s putty at the perimeter for extra insurance. I secured the mounting bracket and nuts evenly to avoid twisting the deck. Supply connections to the hot and cold stops were made with stainless braided lines, tightened carefully to avoid galling the threads or stressing the ferrules.
With water restored, I bled air from the lines, checked the aerator for debris, and verified smooth handle travel, steady water pressure, and drip-free performance at the base and supply joints. I finished with homeowner tips on aerator cleaning, leak checks, and valve exercise. This faucet replacement blends best-practice plumbing techniques with practical, cost-effective materials for long-term reliability.
Access & Removal with a Basin Wrench
Here I’m loosening the corroded mounting nuts behind the sink with a basin wrench, a must-have for tight-clearance faucet removal. After shutting off the angle stops and draining residual pressure, I disconnected the braided supply lines, capped the inlets, and cleared the deck for a clean install. This step prevents cross-threading, protects valve stems, and eliminates future slow seep leaks.

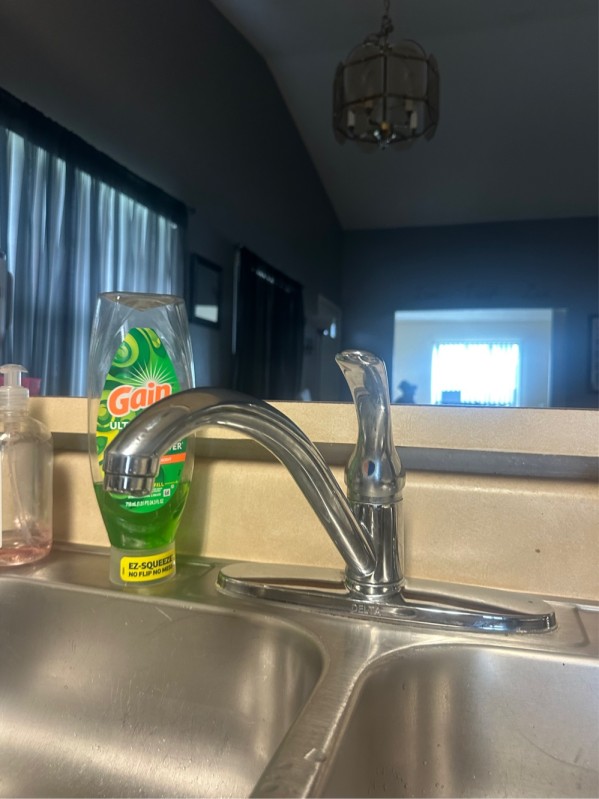
Set, Seal, and Secure the New Faucet
In this stage I’ve positioned the new faucet, aligned the rubber gasket, and applied a modest bead of plumber’s putty for a watertight seal. The mounting bracket and nuts are tightened evenly to maintain alignment. After connecting hot and cold, I flushed the lines, checked the aerator for sediment, and confirmed zero drips at the base and compression fittings.