Master Trap Replacement — Brandon, FL
Earlier this week in Brandon, Florida, I was called for a persistent kitchen sink leak. After a thorough inspection, I traced the issue to a worn master trap that was no longer sealing. A compromised trap can cause continuous dripping, cabinet water damage, and sewer odors—so a precise trap replacement was the best long-term fix.
I shut off the water, protected the work area, and disassembled the old assembly using adjustable pliers and a basin wrench. Once removed, I cleaned the drain stub-out and slip-joint seats, then dry-fit a new PVC P-trap with the correct trap arm length and fall. Proper alignment is critical for reliable drain line service and to prevent standing water or backflow.
With new washers, slip-nuts, and a light application of thread seal on male threads (where appropriate), I tightened each connection hand-snug and finished with quarter-turns to spec. I then ran the faucet at full flow, tested with a dye check, and wiped each joint to confirm a leak-free installation. Smooth drainage and no seepage—exactly what we want from professional kitchen plumbing repair.
Below are progress photos from the visit, along with notes about the tools, materials, and best practices used—helpful for anyone curious about what goes into a quality trap replacement: correct pipe slope, clean sealing surfaces, fresh gaskets, and proper tightening torque for long-lasting results.
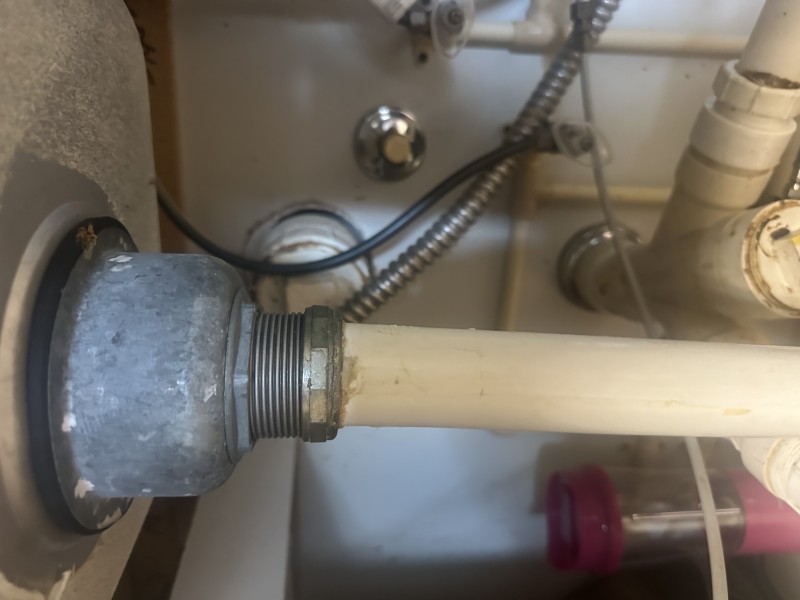
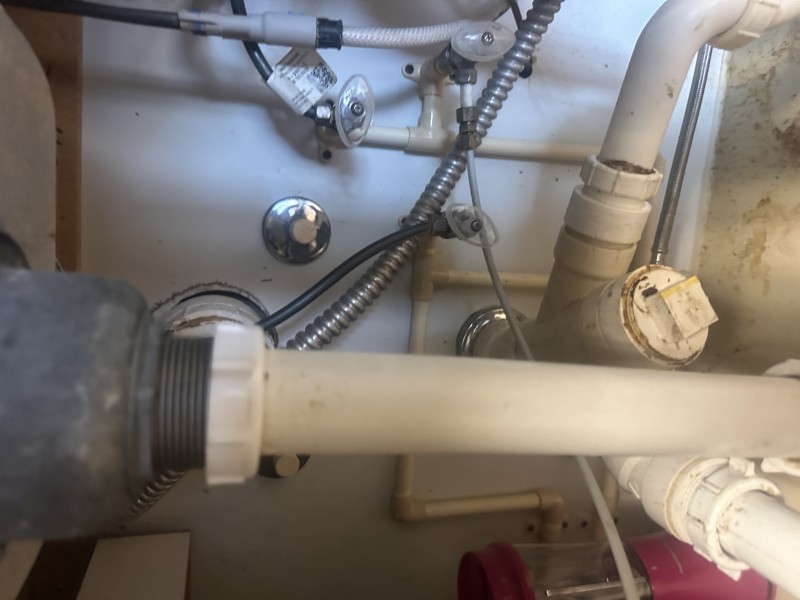
Initial Leak Inspection
I confirmed active moisture at the trap assembly and noted corrosion on the slip joints. Using a flashlight and inspection mirror, I verified the leak path and planned a full trap replacement to restore proper sealing and eliminate sewer odor.

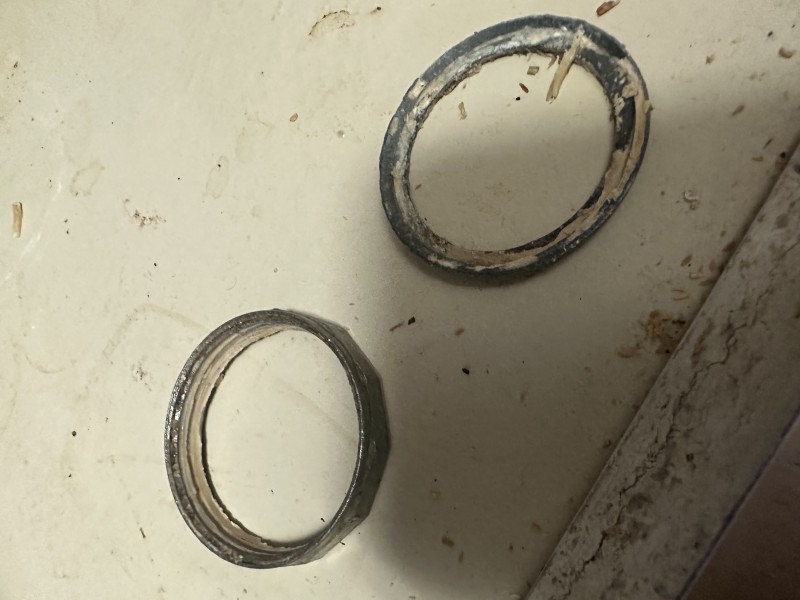
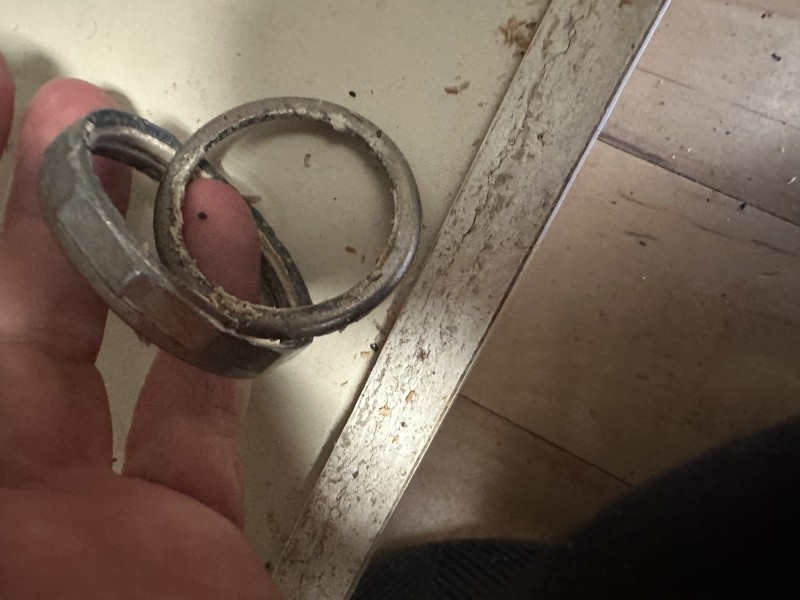
Safe Disassembly
After shutting off the water and protecting the cabinet base, I removed the old trap with adjustable pliers and a basin wrench. I saved the trap arm measurement for an accurate PVC P-trap fit and cleaned the drain stub-out for a fresh gasket seal.
Dry Fit & Alignment
I dry-fit the new components, ensuring the trap weir height and trap arm slope met best practices. Correct alignment prevents slow drains and standing water, which are common causes of future kitchen plumbing problems.
New Washers & Slip Joints
With fresh nylon washers and slip-joint nuts, I hand-snugged then quarter-turned to spec. A light thread seal on the male threads helps achieve a durable, leak-free connection without overtightening or cracking fittings.
Pressure & Dye Test
I ran the faucet at full flow and performed a dye test, wiping each joint to check for weeping. The new drain line held perfectly—no seepage, smooth discharge, and correct water seal depth for odor control.
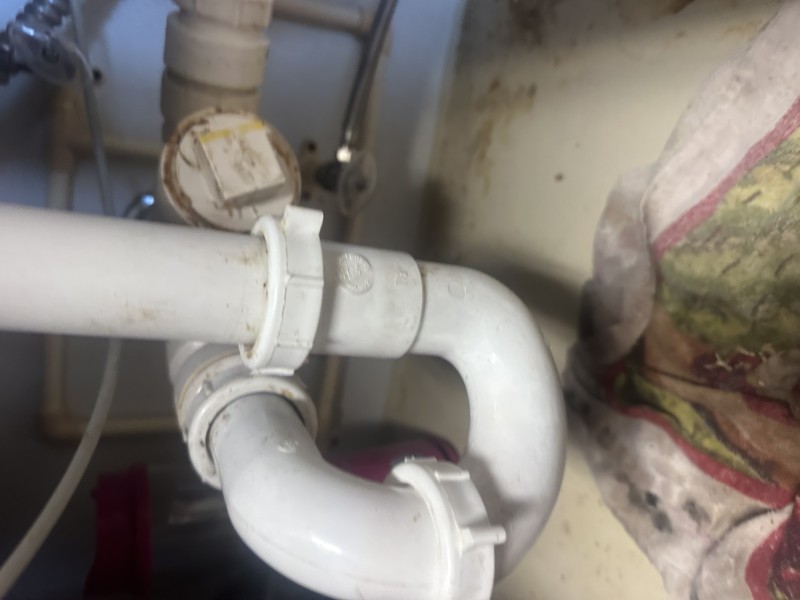
Completed Replacement
The finished master trap replacement delivers reliable drainage and a clean cabinet space. Best practices—proper slope, clean sealing surfaces, fresh gaskets, and correct tightening—ensure long-lasting plumbing repair results for the kitchen sink.