Shower Faucet Repair in Spring Hill, FL
On a recent service call in Spring Hill, Florida (completed in December 2025), we addressed a shower faucet issue where the handle was constantly “jumping” during operation and a high-pitched whine could be heard when the water was partially shut. These symptoms often point to a failing shower cartridge or internal valve components beginning to bind, causing inconsistent flow and temperature control.
After testing the shower, we confirmed the hot side was not fully closing at mid-handle position—classic cartridge wear that can create pressure imbalance and internal sticking. Proper shower valve troubleshooting helps prevent ongoing drips, uneven temperature mixing, and premature damage to the valve body.
The repair included isolating the water supply, removing the trim and handle hardware, extracting the worn cartridge, and installing a compatible replacement cartridge. We also used plumber-grade silicone grease on seals and O-rings to reduce friction and ensure smooth handle movement, which is a key step in long-lasting shower valve repair.
After reassembly, we verified steady water flow, quiet operation, and full shutoff. The handle now moves smoothly without sticking, and the shower operates the way it should—an effective solution for this faucet repair and shower cartridge replacement.
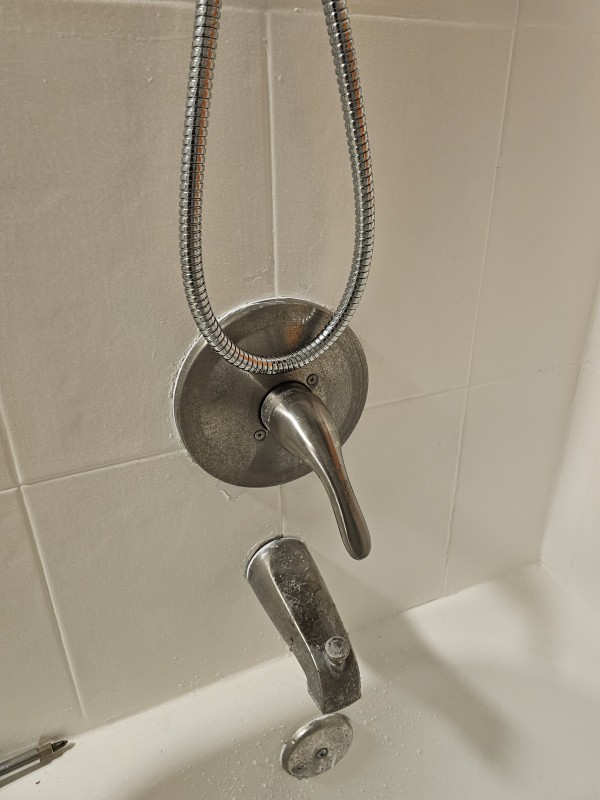
Before Repair: Shower Handle & Tub Spout
We started by inspecting the tub/shower handle, spout, and diverter area while running the water to reproduce the problem. The jumping handle and whining sound are common signs of a worn pressure-balance cartridge inside the shower valve. This initial check helps confirm whether the issue is internal rather than a trim or handle defect.
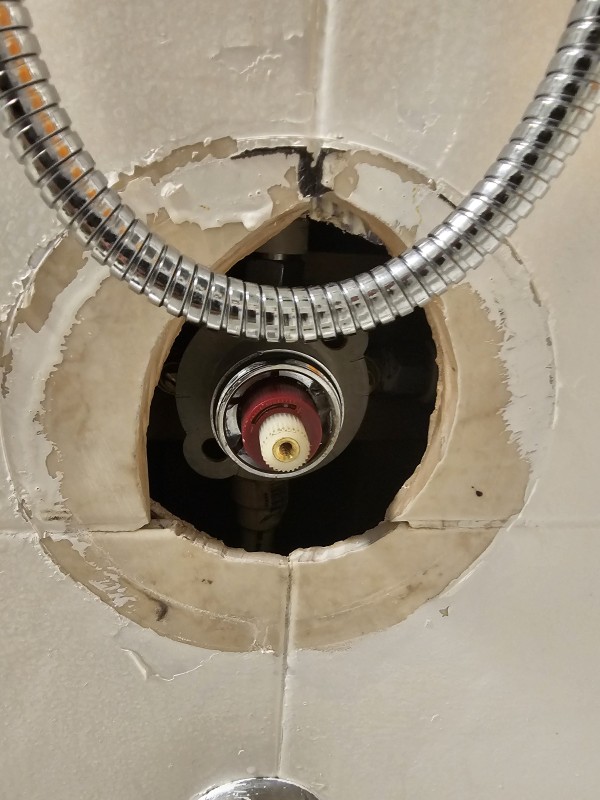
Accessing the Valve: Trim Removed
After isolating the water supply, we removed the handle and trim plate to access the valve stem and cartridge opening. Exposing the valve is essential for accurate shower cartridge diagnosis, especially when incomplete shutoff and sticking are present.
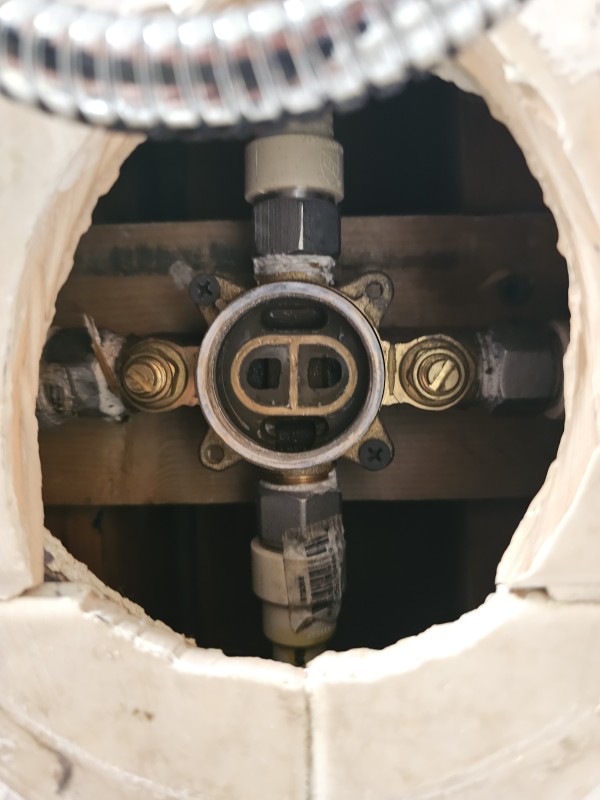
Inspecting the Valve Body
With the opening exposed, we inspected the valve body and ports for buildup or wear. A clean valve body supports proper water flow and consistent temperature control after the new cartridge is installed.

Old Cartridge Removed
The removed cartridge showed clear signs of wear and sticking, which caused the handle to jump and prevented proper shutoff. Removing the failed component is the most important step in a reliable shower cartridge replacement.

New Cartridge Installed
We installed the new cartridge after lubricating the seals with silicone grease and carefully aligning it inside the valve body. Proper installation restores smooth handle movement, steady pressure, and accurate temperature mixing.
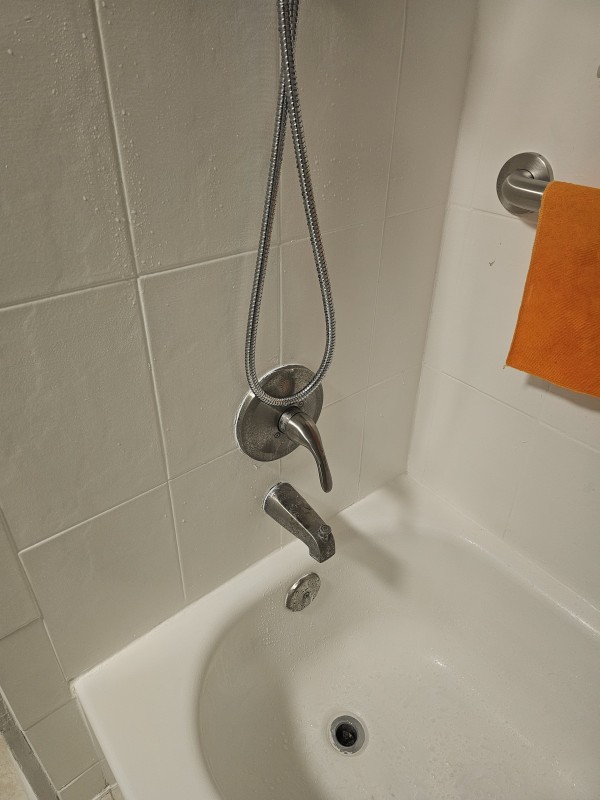
Final Testing & Verification
Once reassembled, we restored the water supply and tested the shower for quiet operation, smooth handle movement, and full shutoff. Eliminating the noise and restoring consistent flow confirmed the shower valve repair was successful.