Toilet Tank Leak Repair — Tampa, FL (August 2025)
We responded to a toilet leaking from the back of the tank. After closing the angle stop and draining the tank, we inspected the tank‑to‑bowl connection, fill valve, and flush valve to locate the source of moisture and prevent water damage.
Our repair plan included replacing a flattened tank‑to‑bowl gasket, upgrading to stainless/brass tank bolts with nylon washers, and calibrating the fill system. Even, measured torque protected the porcelain while restoring a watertight seal.
Below are photos from the service (rotated 90° for correct orientation) with notes describing each step — from diagnostics to final leak testing — following plumbing best practices for a durable result.
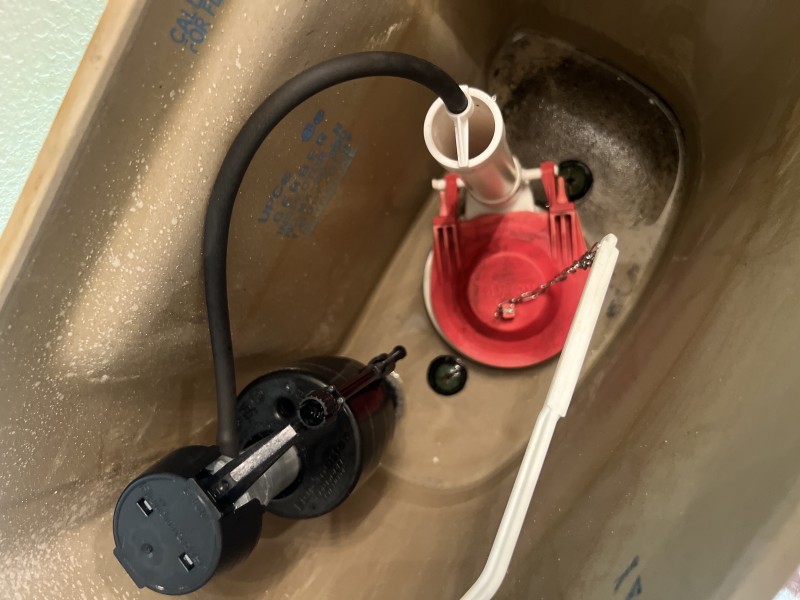
Rear Tank Inspection
Moisture traced at the tank‑to‑bowl interface. We used a flashlight and inspection mirror to check for hairline cracks, a compressed gasket, and loose tank bolts — common causes of seepage.

Shutoff & Drain‑Down
Closed the angle stop and fully drained the tank with a sponge and small bucket. A dry work area prevents tracking and lets us safely service hardware and seals.
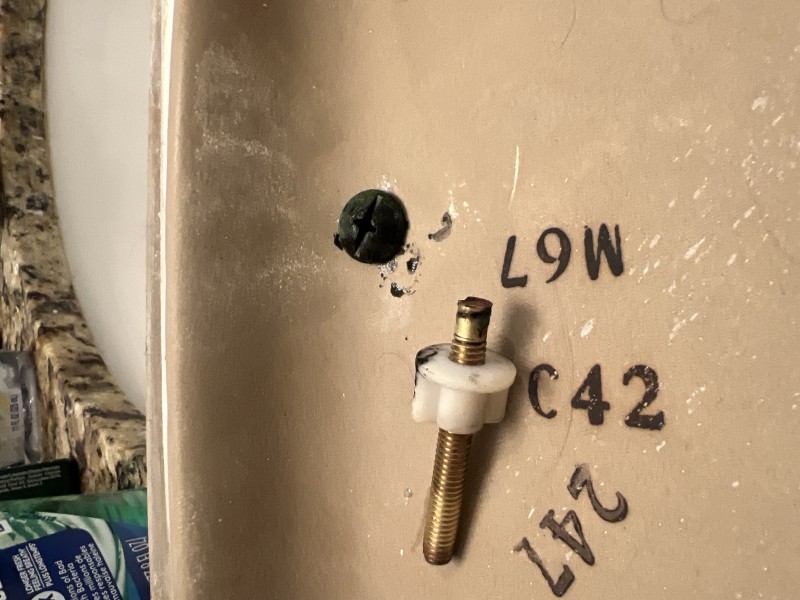
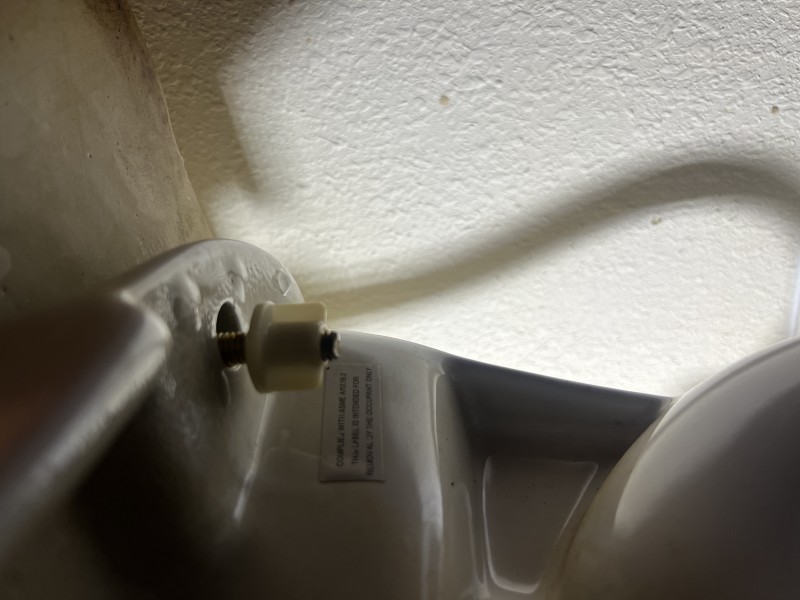
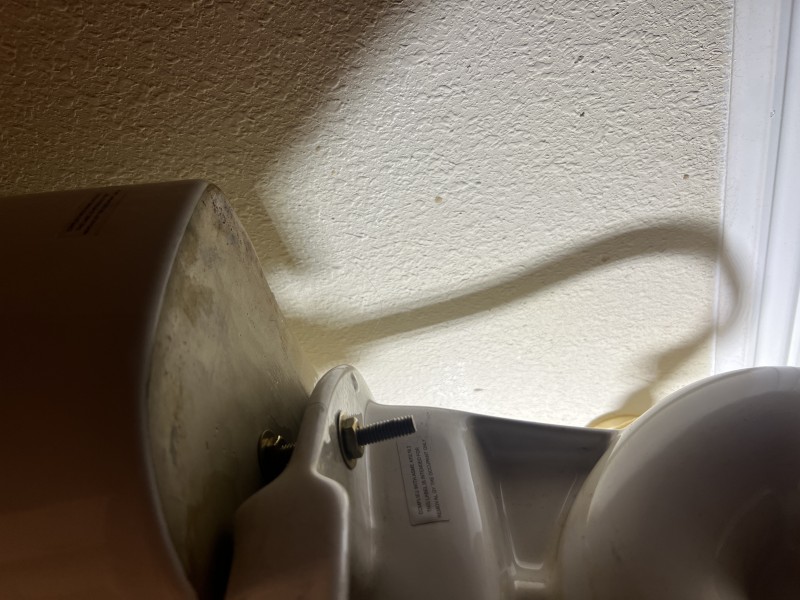
Gasket & Hardware
Replaced the tank‑to‑bowl gasket and upgraded to stainless/brass bolts with nylon washers. Even torque on the fasteners protects the porcelain and restores a watertight seal.
Fill & Flush Optimization
Adjusted the fill valve and float height, verified the flush valve seal, and confirmed stable refill timing to prevent overfill, running water, and future seepage.
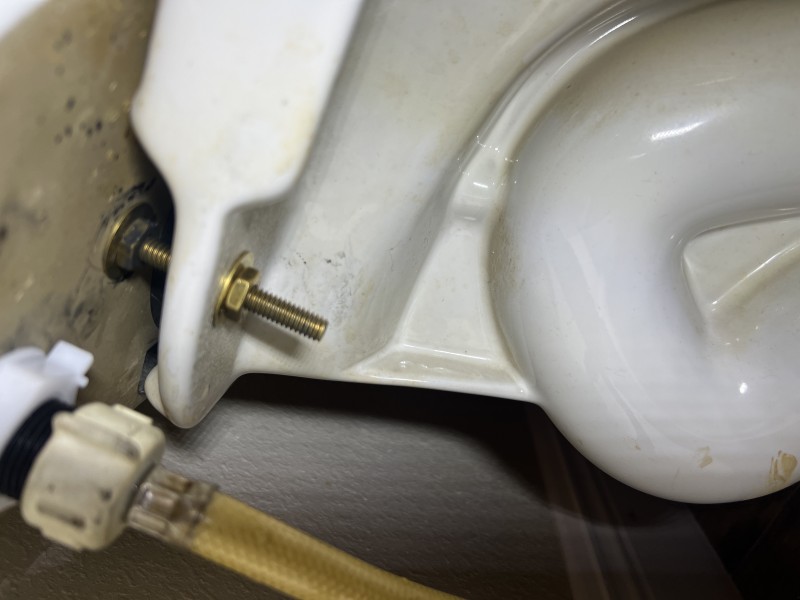
Leak Testing
With water restored, we ran multiple flush tests and inspected the gasket interface, tank bolts, and supply connection for capillary leaks. All joints remained dry.
Final Result
The toilet is level, refilling correctly, and fully leak‑free. A proper tank‑to‑bowl seal and tuned valves protect the bathroom and keep water use efficient.